
15 easy steps to affordable branding for entrepreneurs on a budget

Have you parked branding on your ‘to-do someday’ list because right now it feels far too complex and expensive to even begin?
This guide covers the 15 steps that entrepreneurs can follow to create a strategic brand that fuels your business – without the eye-watering price tag. Plus, 14 free tools to help you get started today.
The myth that branding has to be expensive
“Whenever I hear the word branding, I immediately see multiple dollar signs in my head” a fellow entrepreneur recently told me. She went on, “I automatically think that any package is going to cost thousands.”
This myth comes from the fact that traditional brand agencies cater to large organisations with complex branding needs – AKA the Apples and Nikes of the world.
Unfortunately, the myth has perpetuated the opinion within entrepreneurship that its best to leave the creation of strategic branding until your business becomes more mature so that you can afford a big investment in branding.
But trying to establish and grow a business without a strategic brand means leaving the following benefits of branding on the table:
Attracting an aligned audience
Differentiation from competition
Credibility in the industry
Building awareness, recognition and familiarity (which all increase sales potential)
A clear brand strategy to follow and evolve from
It’s time to bust the myth that branding has to be expensive and inaccessible for entrepreneurs and small businesses with no (or low) budgets.
15 easy steps to affordable branding for entrepreneurs on a budget
STEP 1 — Identity your target customer
Whilst your brand belongs to your business, it ultimately needs to appeal to your target customer.
To create a brand that resonates with your target customer, first you need to understand who they are, what problems they’re struggling with and what they truly desire.
Start by drafting a profile of who you think your target customer is and then use desk research and qualitative research (such as 1:1 interviews) to verify what you know and adjust accordingly. Make sure you have a clear view of the following:
Relevant Demographics: location, age, income, education etc.
Attitudes: views, perceptions, feelings, barriers, beliefs
Behaviours: preferences, satisfaction and usage of other products/services in existing market
STEP 2 — Figure out your mission
Your mission is the ‘why’ behind what your business does and acts as the ‘North Star’ for your brand, constantly guiding your decision making as your business evolves.
To find your brand’s ultimate purpose, think about your ‘why’ beyond making money and how it emotionally relates to your target customer. It can also be helpful to relate your mission back to one of the four core human desires just as brands like Peloton and Airbnb do.
The desire for stability and control
EXAMPLE: Tesla’s mission is “To accelerate the world's transition to sustainable energy.”
The desire for connection and belonging
EXAMPLE: Bumble’s mission is “To create empowering connections in love, life, and work.”
The desire for achievement and mastery
EXAMPLE: Peloton’s mission is “To empower people to be the best version of themselves anywhere, anytime.”
The desire for freedom and independence
EXAMPLE: Airbnb’s mission is “To create a world where anyone can belong anywhere.”
STEP 3 — Define what makes your business different
List out all the things your product or service does and how it works including its main features and benefits. Compare your list to your key competitors to help define what you do that is different or better for the customer you identified in step one. For more support with this, follow this strategy to find your differentiation point.
You should end up with two to three points of differentiation that you can use to form the key messages that you will communicate through your brand and marketing.
STEP 4 — Uncover your brand personality
Now that you’re clear on who your target customer is, a mission that is meaningful to them and how to position your brand to stand out in the market, you need to package it up into a brand personality that aligns with all three.
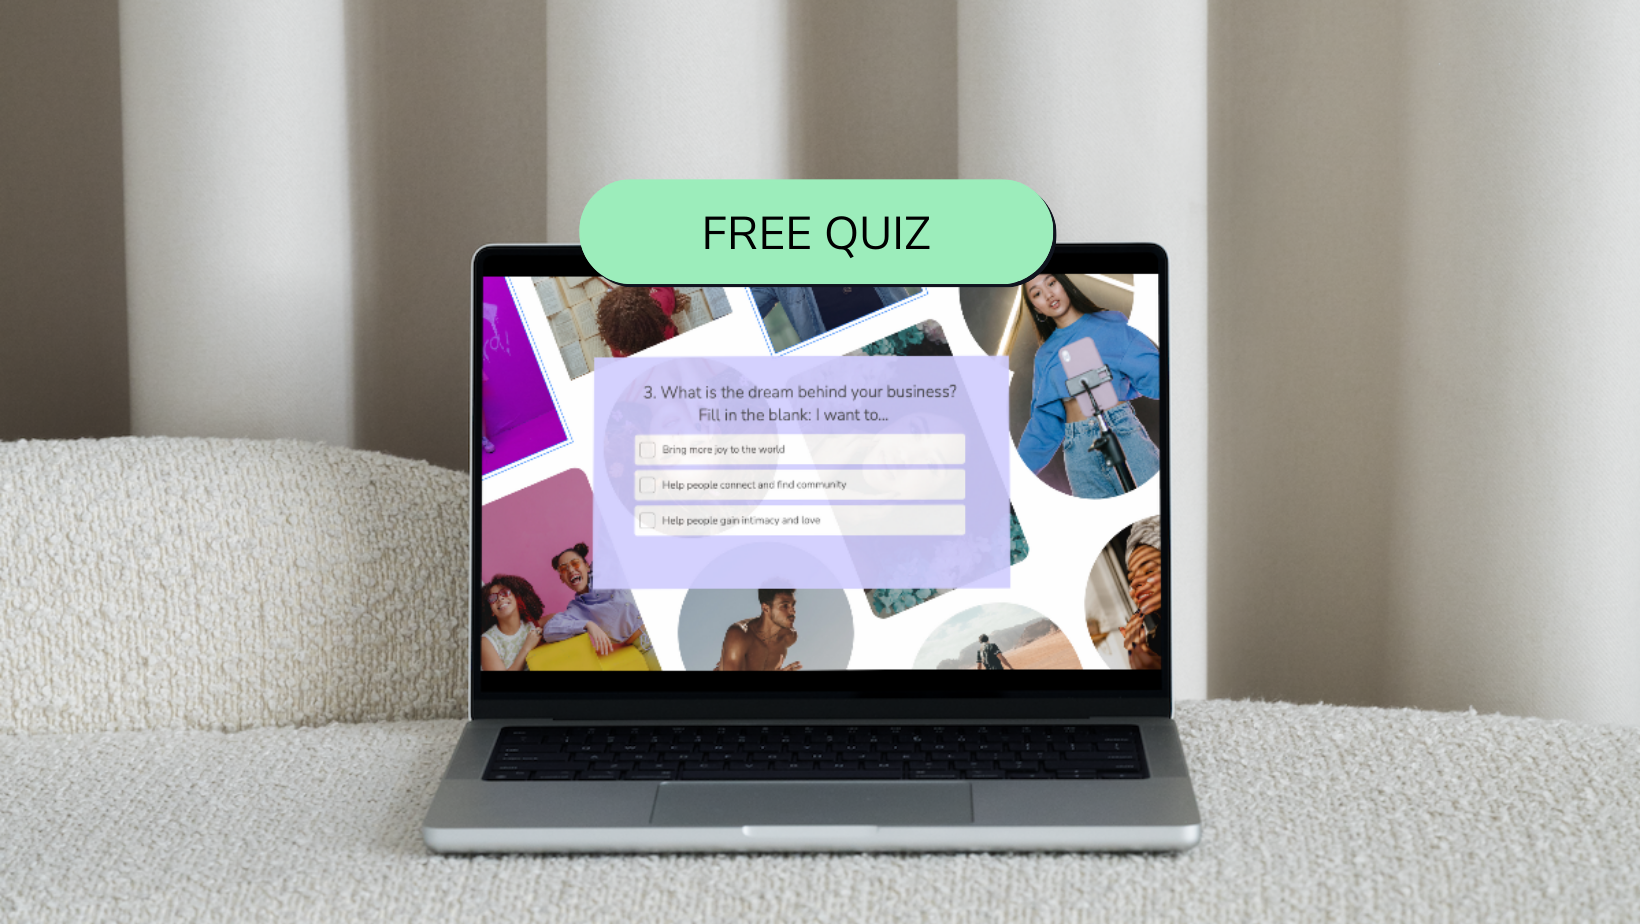
You can define your brand personality by brain-dumping action words that you want people to associate with your brand on to a page or by taking our free brand personality quiz to generate your profile.

Our favourite free tool for finding your brand personality:
We use the brandbeam brand personality quiz to help our clients develop their brand personality. The short quiz generates a custom brand personality profile as well as three colour palette suggestions and a tone of voice quick guide.
STEP 5 — Choose your brand name
Naming your brand is a key opportunity to reinforce the message you want to send to potential customers. An effective brand name should do three things well:
Set the tone and personality of your brand
Help to differentiate your brand
Reflect your overall brand positioning
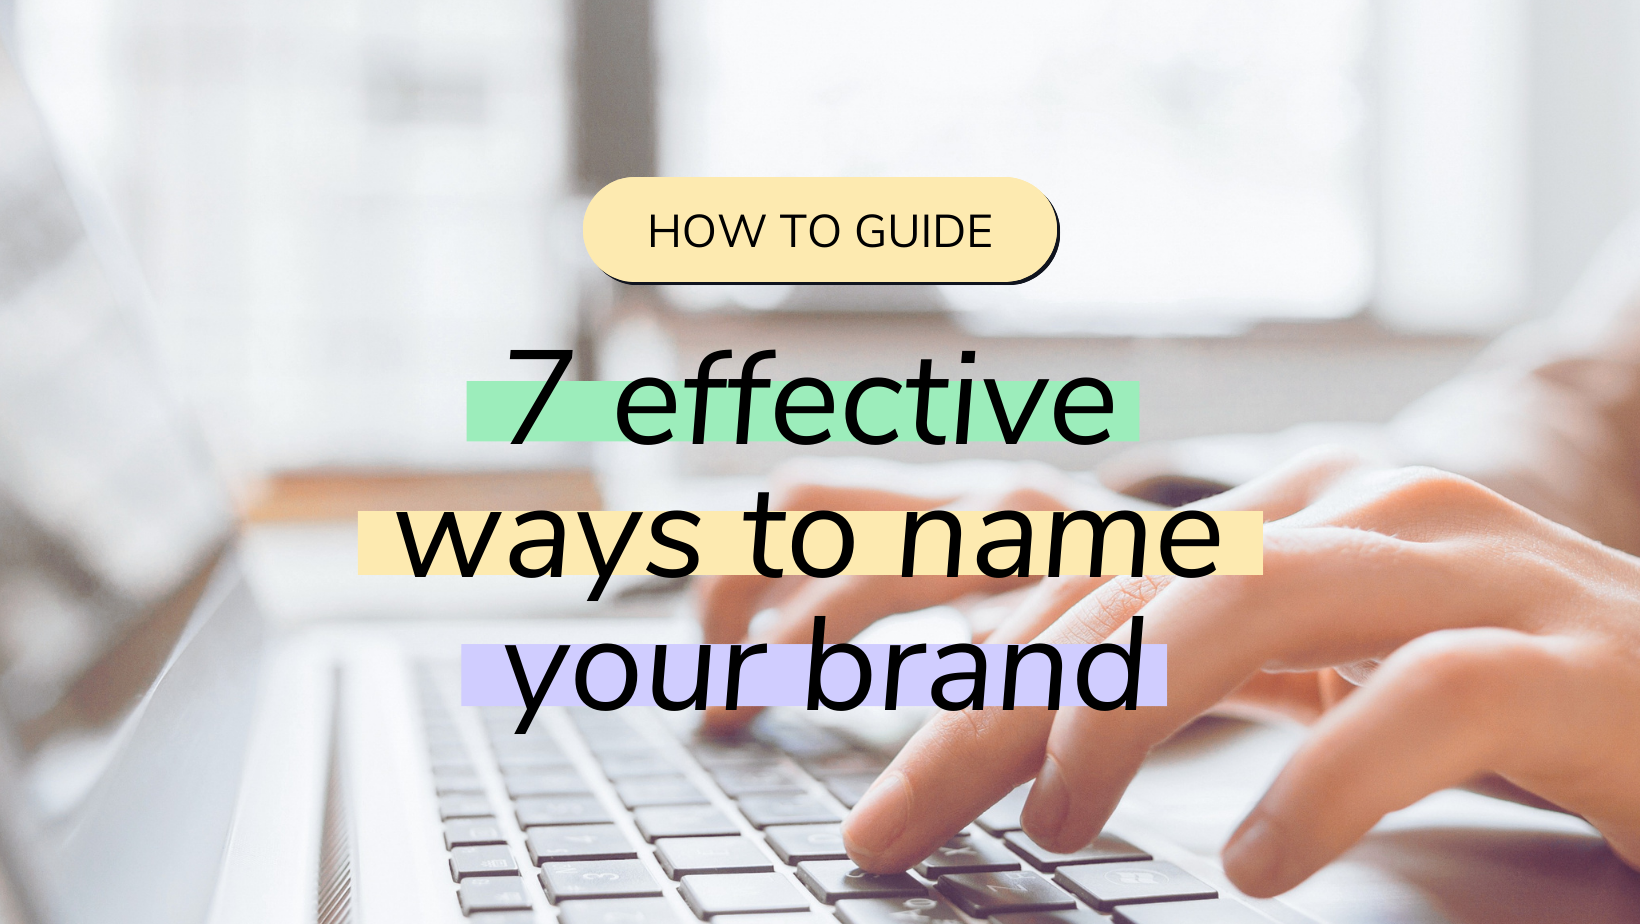
For more support with naming your brand, check out these 7 effective ways to name your brand.
STEP 6 — Get your vision together
Make a digital mood board to pull together inspiration for how you want your brand to look and feel into one place. This step is about visual research before creating your own brand identity.
Take screen grabs of the following and drag them on to your mood board:
Branding: competitor logos, icons and wordmarks
Typography: fonts that complement each other while reflecting your brands personality
Colours: colour palettes from competitors as well as brands with similar personalities in different industries
Activations: how your competitors communicate on different channels through their marketing assets and content
Our favourite free tools for creating mood boards:
Milanote: easy to drag & drop imagery, video and add notes
Mural: good for collaborating with others
Pinterest: lots of existing inspiration to pull on to your own board
STEP 7 — Find your fonts
You should have some ideas for fonts that work with your brand personality on your mood board. Use the free tools listed below to find 2-3 fonts that you will use for headers, body copy and accents. Don't just follow trends — make sure that your chosen fonts reflect your personality and complement each other.
PRO TIP: Always check licensing. Select Open Source fonts to use free of charge commercially.
Our favourite free tools for finding free fonts:
Google Fonts: open license fonts for commercial use that you can test live on the site
Behance: free font category to search through
What the Font: see a font you like but not sure what it is? Upload an image to detect a font match
STEP 8 — Nail complementary brand colours
Now it’s time to bring your brand personality to life with colours. Use our free tool recommendations below to select 4-5 complementary colours for your brand. Make sure you consider contrast and legibility of text overlaid on your chosen colours.
Note down the HEX codes for the chosen colours that work together to express your brand personality. These codes can be used on any digital applications (such as your website, email marketing platform or designs in Canva) to ensure your brand colours are consistent.
Our favourite free tools for finding complementary brand colours:
Coolors: generates ready to use colour palettes or you can upload a photo to extract colours
Adobe Color: lots of inspiration based on colours that work together
Pigment by Shapefactory: ability to adjust pigment and lighting on palettes
STEP 9 — Bootstrap your logo design
You can create a logo for $0 by simply choosing a typeface and spelling out your brand name in a particular font. This should be different to your primary brand font so headers on your website don’t get confused with your logo. The plus side of this method (other than it being free) is that your logo will be optimised for digital channels where space is limited over intricate logos with lots of detail.
STEP 10 — Organise your brand elements
Congratulations, you have now created all the elements of your brand identity. Make sure that you save each element in one easy to access place so you can use them with consistency. You could do this by creating a brand guide or brand kit document as well as saving all the individual logo and font files into a central filing system.
STEP 11 — Select the channels and create the content to activate your brand
Now it’s time to decide how you are going to activate your brand – AKA where you’re going to communicate to your target customer.
Here are some examples of channels where you may want to create a brand presence:
Website and blog
Email marketing
Social media (Instagram, TikTok, LinkedIn, X etc.)
Search platforms (YouTube, Pinterest etc.)
Offline events and networks
Once you have all your branding elements (logo, fonts, colours), you can use free design tools like Canva to create any type of asset you need from website banners to Instagram posts through to email headers and much more.
STEP 12 — Build your website
A website is the digital shop window for your business and an important touch point for your brand. In fact, you have just 0.05 seconds for your website to make an impression on new visitors.
In the early stages of building your business you don’t need to fork out thousands of dollars for a custom website. There are plenty of low-cost website building and hosing tools where you can plug and play your branding elements to bring your personality and brand to life.
STEP 13 — Source “on brand” imagery
It’s likely that you will need to source stock imagery for your website or content marketing. Avoid choosing images that look too posed or cheesy and instead align them with the qualities of your brand personality as well as your brand colours.
For example, if your brand personality is caring and nurturing with a neutral colour palette, search for images that fit this aesthetic rather than bold and bright imagery.
Our favourite free tools for sourcing “on brand” imagery:
Adobe Stock: collection of royalty-free images
Unsplash: free stock imagery
Burst: free stock photo platform by Shopify
Canva: the free version includes a license to cover use of all free photos, icons, illustrations, videos and templates
STEP 14 — Swap big budget brand marketing for small brand tactics
It’s unlikely that you have a big marketing budget (if any) to promote your brand and business at the beginning. But that doesn’t mean we can’t learn from big successful brands.
Here is how you can swap big budget brand marketing for more affordable, yet effective options:
Instead of running a TV advertising campaign, create digital video for YouTube or TikTok
Instead of producing and promoting a new podcast series, get featured as an expert on existing podcasts
Instead of buying a content feature in an industry publication, utilise blogging, SEO and guest posting
Instead of host and catering a networking event in person, run a virtual masterclass or workshop
Instead of investing in billboard advertising, run digital display or Meta ads

STEP 15 — Test, learn, iterate
The final step comes with a reminder that your brand is not a static entity – it’s your reputation and it will constantly evolve as your business scales.
One of the biggest benefits of branding as a small business is that you have permission to test, learn and iterate. Your brand isn’t under a big spotlight on the global stage (yet) so use this to your advantage.
Measure what’s working across your branded channels and marketing activities and check in with customers regularly to understand whether their experience of your brand is aligned with your strategy and intentions. Implement feedback to strengthen your brand and reputation as you grow.
$0 DIY vs. affordable solutions – which route is right for you?
If you’re an entrepreneur who has previously felt priced out of bringing your brand to life, this step by step guide walks you through everything you need to do to get your brand set up and gaining traction. These are the same steps that I followed to set up brandbeam’s branding and we also use the same process with all of our clients.
All of the steps can be done using a DIY route and the free tools listed (with some low-cost investments like a website platform). All that is required from you is the time investment to action each step.
If you’re reading this thinking “Yikes! I don’t have the time to invest in doing this alone and I certainly don’t have the budget to work with a brand agency” – keep reading for an easier option.
At brandbeam, it’s our mission to make branding more accessible and simpler for entrepreneurs, which is why we offer affordable brand kits customised for your business. If you don’t want to go it alone, explore the brand success kits.
Related resources
NOTE: brandbeam is not affiliated with or responsible for any third party sites or tools listed in this post.

ABOUT THE AUTHOR
Katie has more than a decade of experience in brand marketing having worked with some of the world’s most iconic brands from the BBC to Burberry through to British Airways.
She is on a mission to make branding easier and more affordable for entrepreneurs so they can build brands that fuel business success.